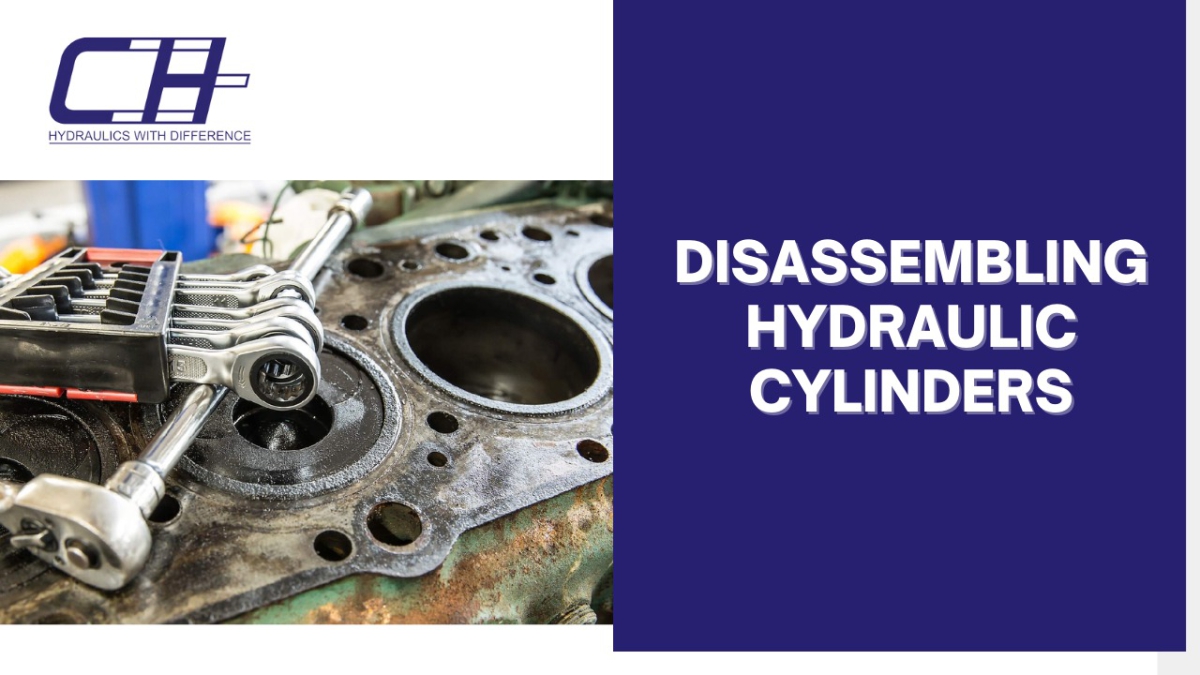
An in-depth guide on how to disassemble hydraulic cylinder hydraulic cylinder, safety measures to be taken while conducting the process
Hydraulic cylinder which are used in hydraulic systems plays a vital role in any hydraulic system. Since hydraulic cylinders does most of the task which could not be done manually or which is impossible that includes pushing, pressing lifting more easily with less effort
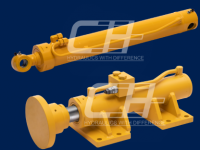
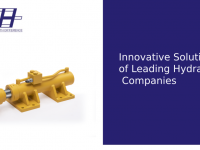
Are you looking for top 10 hydraulic cylinder manufacturers in world get in touch with Canara Hydraulics we are top hydraulic companies in bangalore

For a hydraulic cylinder to work efficiently regular maintenance and inspection needs to be carried out
Why disassemble hydraulic cylinder?
There may be various circumstances why you have to disassemble a hydraulic cylinder these reasons include
- Piston rod is bent or broken
- Hydraulic oil leaking out of the hydraulic cylinder
- Damage in cylinder housing
- Piston seals to be replaced
While disassembling hydraulic cylinder due to leakage in the first stage, it is always recommended to replace all the internal components rather than the failed components
Measures to be Taken While disassembling hydraulic cylinder
When disassembling a hydraulic cylinder it is very important that it should be done under the supervision of an engineer to prevent mishaps and making sure you have proper tools
You may require the following tools when you disassemble hydraulic cylinder
- Proper Seal Kit
- Rubber Mallet
- Screwdriver
- Punch
- Pliers
- Emery cloth
- Torque Wrench
Wear Glasses and wear non-slip steel toed shoes, Because of the weight of most cylinders
Use lifting equipment in order to move the cylinder or individual stage of equipment to prevent injury
Stay Cautious while dissembling hydraulic cylinder to prevent damage to person and to different stages of cylinder
The first And foremost thing to be done is to shut down the whole hydraulic system to make sure it is properly shut down and appropriate lockout are in place
Once this is done the second step involves making sure all the dirt, dust and grease off the cylinder. Use water and a non-flammable cleaning agent to clean the cylinder. Housing and attached hydraulic hoses make sure to plug the cylinder ports and hoses to prevent debris from getting into the cylinder.
The third step involves making sure you remove the clevis pins to detach the cylinder from the equipment or machine
Keep the cylinder at a proper position and in clean place
How to Disassemble Hydraulic Cylinder?
Since in hydraulic cylinders there are various kind of sizes and types so each disassembly of hydraulic cylinder is different for each
Most commonly used methods in disassembly is threaded head cylinders and Wire ring cylinders
Threaded head hydraulic cylinders are also called screwed end cylinders, are characterized by the presence of threaded connections on the cylinder head and cap.
These connections serve the purpose of securing the individual components of the cylinder together.
When disassembling hydraulic cylinders, the removal of the piston rod from the cylinder barrel can be accomplished with the help of a method known as the wire ring method. When the rod cannot be unscrewed or removed from the barrel in any other way due to corrosion, damage, or any other issue, this method is used to remove it.
How to Disassemble a Threaded Head Cylinder
The process of disassembling a threaded head cylinder can be a difficult one that calls for specialized equipment and in-depth industry expertise. If you are unfamiliar with the procedure, it is strongly suggested that you seek the advice of an experienced professional to disassemble hydraulic cylinder or look for instructions in the manual provided by the product’s manufacturer. Nevertheless, in order to assist you in navigating the process, the following are some general steps:
- Get ready to use your workspace: Make certain that the space in which you will be working is tidy and has adequate lighting. Prepare a workspace by laying out all of the necessary tools, such as a wrench set, screwdrivers, and pliers.
- Drain any fluids: Before you can begin disassembling the cylinder, you will need to drain any hydraulic fluid that may be contained within it. Find the drain valve and turn it so that it can be opened. This will allow the fluid to drain into a container.
- Before beginning to disassemble the cylinder itself, remove any external parts that may be attached to it, including any hoses, fittings, or brackets.This step should be performed before beginning to disassemble the cylinder itself.
- Use a wrench to loosen the end cap of the cylinder. This can be done by removing the end cap of the cylinder.
When you unscrew the cap, you need to be careful not to damage the threads.
You should be able to gently pull the rod out of the cylinder once the end cap has been removed. This will allow you to remove the rod.
- Disassemble the cylinder: Depending on how the cylinder is designed, you may need to take apart the piston, the seals, and the other internal components of the cylinder.
It is essential to not lose track of the sequence in which the components were removed and to carefully examine each component for signs of damage or wear.
- After you have disassembled the cylinder, you will need to clean each component thoroughly and then examine them to determine whether or not they have sustained any damage or wear.
It is possible that you will need to replace any components that you discover to be broken or worn.
- Reassemble the cylinder: When reassembling the cylinder, make sure to follow the disassembly steps in the opposite order.
Be sure to lubricate the seals as well as any other moving parts that are required to be done so.
Note that the steps outlined in this article serve only as a general guide, and the specific disassembly process may differ depending on the type and model of the threaded head cylinder that you are utilizing in your project.
Always refer to the user guide provided by the manufacturer for the most up-to-date and accurate instructions and suggestions.
How to Disassemble a Wire Ring Cylinder
The process of disassembling a wire ring cylinder can be a delicate one that calls for specialized tools and in-depth industry expertise.
If you are unfamiliar with the procedure, it is strongly suggested that you seek the advice of an experienced professional or look for instructions in the manual provided by the product’s manufacturer.
Nevertheless, in order to assist you in navigating the process, the following are some general steps:
- Take off the wire ring: Using pliers, remove the wire ring from the cylinder in a careful manner. If the wire ring is difficult to loosen, you might need to resort to using a wrench on it.
- Once the wire ring has been removed, it is time to perform an inspection on the cylinder to look for any signs of damage or wear. It is important to pay close attention not only to the wire ring but also to the internal surfaces of the cylinder.
- The cylinder should be cleaned by using a soft cloth or brush to clean both the cylinder and the wire ring. It is possible that the cylinder will need to be cleaned with a solvent or another type of cleaning agent if it is dirty or contaminated.
- You may need to replace any worn or damaged parts that you discover. If you discover any parts that are damaged or worn, you may need to replace them. This could refer to the wire ring, seals, or other internal components.
- Reassemble the cylinder: When reassembling the cylinder, make sure to follow the disassembly steps in the opposite order. Be sure to lubricate the seals as well as any other moving parts that are required to be done so.
Note that the steps outlined below are only meant to serve as a general guide, and the specific disassembly process may differ for you depending on the type and model of the wire ring cylinder that you are using.
Always refer to the user guide provided by the manufacturer for the most up-to-date and accurate instructions and suggestions.